

Key Takeaways
The ABS hydraulic unit is usually found in the engine compartment, but its exact position can vary by model year and configuration. Use the vehicle’s own service information before attempting access or replacement.
- Look for a hydraulic unit with several brake lines and an electrical connector.
- Confirm the Mazda 3’s year, generation, and engine before relying on a diagram.
- Do not confuse the ABS unit with the brake master cylinder.
- Check diagnostic codes and basic electrical connections before considering replacement.
- Avoid opening brake lines or disconnecting components unless you have the correct service procedure.
Where the ABS pump is located on a Mazda 3
The mazda 3 abs pump location is generally in the engine compartment, where the hydraulic unit can connect to the brake lines. Its exact position and visibility depend on the vehicle’s year and engine layout. Look for the combination of a metal hydraulic block, multiple brake pipes, and an electrical connection rather than relying on a single visual clue. These checks can help you find the assembly without disturbing the braking system.
Find the ABS hydraulic unit in the engine compartment
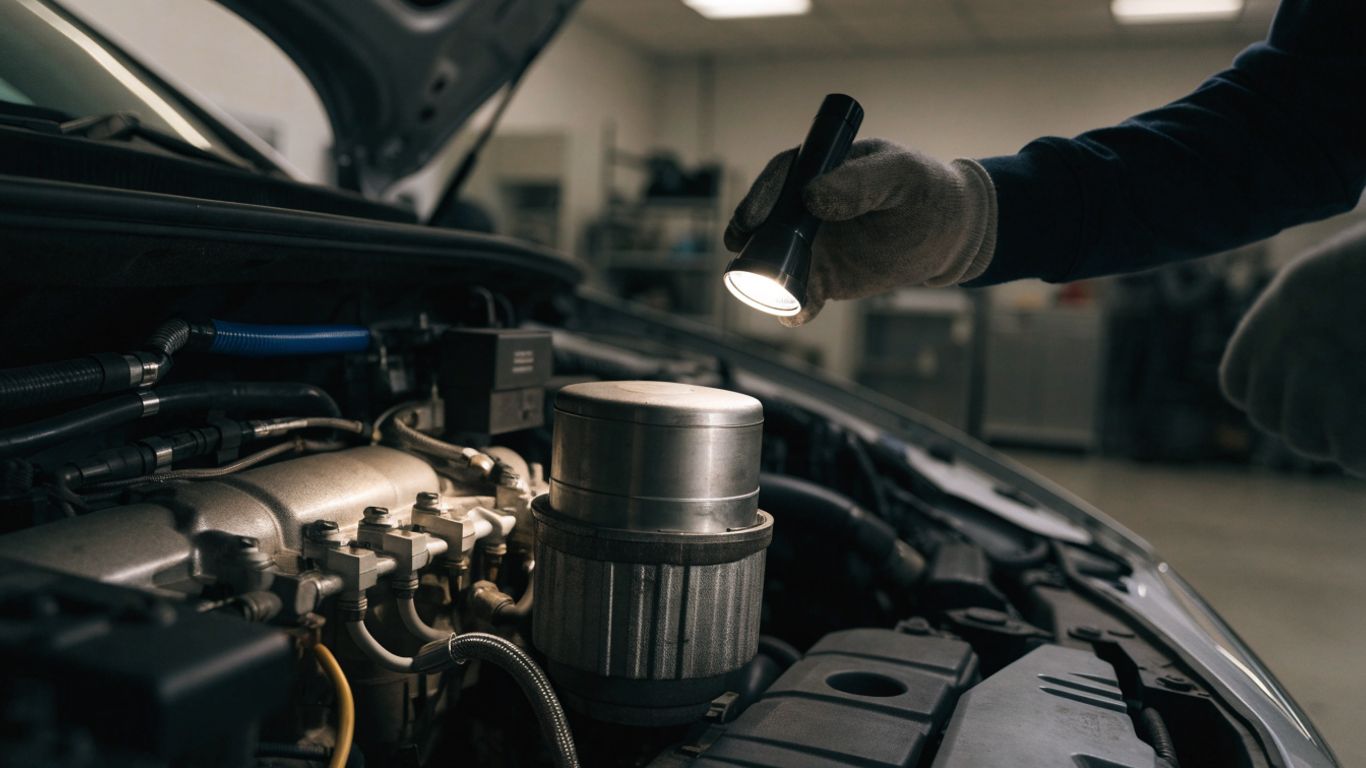
With the hood open, scan the engine bay for a compact hydraulic assembly mounted near the brake system. It is commonly positioned in the same general area as the brake master cylinder, but the distance and angle can vary. Some components may partly obscure it, so use a flashlight and view the area from more than one angle. The unit is not necessarily easy to see from above.
Look for the brake lines and electrical connector
Several narrow metal brake lines run into the hydraulic control unit, and an electrical connector attaches to its electronic portion. Taken together, those details are more useful than the shape alone. Follow the lines visually toward the assembly, but do not loosen fittings or pull on wiring while identifying it. A group of brake pipes leading to a block with a connector is a stronger clue than either feature on its own.
Distinguish the pump assembly from the brake master cylinder
The master cylinder is attached to the brake booster at the rear of the engine bay and is associated with the brake-fluid reservoir. The ABS pump and hydraulic unit are separate components; look for the multiple brake lines and electrical connector to distinguish them. They may sit near one another, which can make a quick glance misleading. If you are unsure, compare the part’s shape and line routing with a diagram for your exact vehicle.
How the location varies by Mazda 3 generation
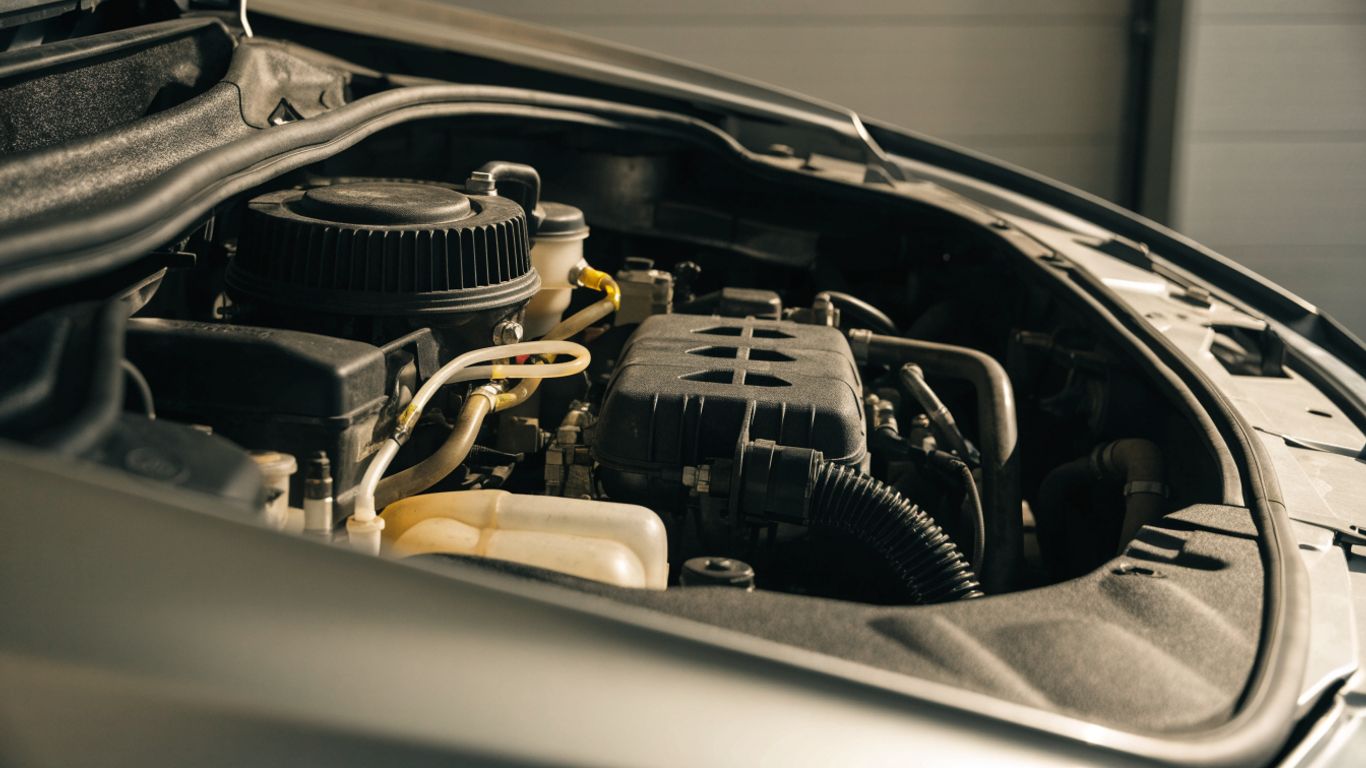
Mazda 3 engine bays have changed over time, so a location shown in a video or diagram may not match another year. Differences in engine, market, and equipment can also affect what is visible around the unit. Start with the model year and confirm which generation it belongs to before searching under the hood. A generation label is a useful starting point, not a substitute for vehicle-specific service information.
Check the model year and generation before searching
Write down the model year and, if available, the engine size and trim before consulting a diagram. The Mazda 3 has had multiple generations, and online descriptions sometimes use broad year ranges or omit market-specific differences. Those shortcuts can point you toward a different layout. Confirming the vehicle details first helps you compare like with like.
Compare engine-bay layouts across model years
A simple year-range comparison can help organize your search, although it cannot confirm a component’s precise mounting point. Use the ranges below to select the right generation of reference material, then check the diagram against the vehicle itself.
| Mazda 3 model years | General generation reference | What to verify |
|---|---|---|
| 2004–2009 | First generation | Match engine and market details |
| 2010–2013 | Second generation | Check the year-specific engine-bay diagram |
| 2014–2018 | Third generation | Compare line routing and connector position |
| 2019 onward | Fourth generation | Confirm the exact model configuration |
These ranges are a search aid rather than a guarantee that every vehicle in a range has an identical layout. If the diagram and the car do not appear to match, pause and verify the vehicle identification and source before proceeding.
Use the vehicle’s service information to confirm the position
A repair manual or service-information diagram can show the unit in relation to nearby components and identify its connections. Make sure the material applies to the right model year, engine, and market. Owner discussions can help you understand the kinds of symptoms people investigate, but they are not a reliable substitute for a diagram; for example, owner reports of ABS faults describe repair concerns rather than a universal component location. Use firsthand visual confirmation alongside the correct service reference.
How to identify the ABS pump and module
The ABS pump is part of a larger hydraulic and electronic assembly, so the word “pump” may refer to only one part of what you see. Identifying the complete unit is easier when you note how its metal lines, electrical connector, and motor housing relate to one another. Do not rely on a warning light or a single visual feature as proof that a particular component has failed. A careful visual check helps you describe the assembly accurately before seeking further diagnosis.
Recognize the hydraulic control unit’s shape and fittings
The hydraulic control unit is typically a compact metal block with several threaded ports for brake lines. The fittings are arranged together, and the block is mounted in the engine compartment rather than at an individual wheel. Compare the full assembly with an appropriate service illustration, since nearby brackets and hoses can hide part of its outline. Avoid treating any metal block with several connections as the ABS unit without confirming the line routing.
Identify the pump motor and electronic control module
The pump motor and electronic control module are attached to or associated with the hydraulic portion of the assembly. Depending on the view, one may be easier to see than the other. Use a diagram to understand how these sections fit together, and do not assume that a fault in one means the entire assembly must be replaced. A scan and a proper diagnostic procedure are needed to narrow down the cause.
Trace the brake lines without disconnecting them
Follow the metal lines visually from the hydraulic block and note where they travel. This is only an identification step; it is not necessary to move the lines, undo fittings, or test them by hand. If the routing is hidden, use a light and consult a model-specific illustration instead of trying to expose it by force. Keeping the connections intact helps avoid turning a visual inspection into brake-system repair work.
How to access the ABS pump safely
Finding the assembly does not mean it is ready to remove. Brake components and nearby engine-bay parts can present hazards, and opening the hydraulic system requires appropriate procedures and equipment. For a location check, leave the assembly connected and limit your inspection to what is visible. If removal is necessary, use the correct repair information or have a qualified technician do the work.
Park on level ground and switch off the ignition
Park on a stable, level surface, select Park or a gear as appropriate, and apply the parking brake. Switch off the ignition and keep the key or fob away from the vehicle while inspecting the engine compartment. Let the engine cool before reaching near components that may retain heat. These basic steps make a visual check more controlled, but they do not replace the vehicle’s service procedure.
Keep clear of moving and hot engine components
An engine bay can remain hot after the vehicle is shut off, and moving components may present a hazard if the engine is running. Keep hands, clothing, and tools clear of belts, fans, and other moving parts. Do not start the engine simply to improve visibility. If access requires reaching around hot or obstructed components, wait or ask a technician to inspect the area.
Avoid unplugging connectors or opening brake lines unnecessarily
For a location check, there is no need to unplug the electrical connector or open a brake line. Those steps can create additional repair needs, and brake-fluid handling and bleeding should follow the correct procedure. Before attempting access, keep the task limited to these basic checks:
- Confirm the vehicle is parked securely and the ignition is off.
- Let hot components cool before approaching the assembly.
- Use a flashlight or model-specific diagram to improve visibility.
- Stop if identification requires moving lines or disconnecting parts.
If the unit cannot be identified without disturbing it, leave it in place and get a technician to confirm the assembly. A visual inspection should not compromise the brake system.
What to check before replacing the ABS pump
An ABS warning or a suspected pump problem does not, by itself, establish that the pump needs replacement. A diagnosis should consider stored fault information, electrical supply, wiring, connectors, and other possible causes. Repair discussions can illustrate why the symptoms alone are not conclusive: one Mazda 3 owner discussion describes a soft pedal that persisted after another repair. Treat individual repair accounts as context, not as a diagnosis for your vehicle.
Scan for ABS trouble codes
Use a scan tool capable of reading the vehicle’s ABS system, since a basic engine-code check may not provide the needed information. Record the codes and any related symptoms before clearing anything. A code can help point toward a circuit or system area, but it does not automatically identify a failed part. Follow the appropriate diagnostic procedure to interpret the result.
Inspect fuses, wiring, and connectors
A technician can check the relevant fuses and inspect wiring and connectors for visible damage, corrosion, looseness, or signs of water intrusion. Do not probe terminals or disconnect components without knowing the correct procedure. Electrical faults can produce warning lights or codes that might otherwise be mistaken for a failed hydraulic unit. A sound inspection helps avoid replacing parts before basic causes have been checked.
Confirm whether the fault is in the pump, module, or another component
The hydraulic pump, electronic module, wiring, and other brake-system components are not interchangeable diagnoses. The symptoms and scan results need to be considered together, with any required tests carried out using suitable service information. Do not base a replacement decision on a warning light alone or on another owner’s repair story. A qualified technician can confirm which assembly or circuit is actually at fault.
Where to find model-specific location details
The best reference is one that matches the exact vehicle rather than a general description of the Mazda 3. Check the model year, engine, and market details before following diagrams or removal instructions. If a source leaves those details unclear, treat it as a general visual aid only. Confirm the assembly before taking anything apart.
Consult the owner’s manual and repair information
The owner’s manual may help with general engine-compartment orientation, while repair information is more likely to include component illustrations and service procedures. Use the material for the right model year and configuration, and check that its labels correspond to the unit you see. A repair manual’s removal steps are not necessary for simply locating the part. Keep the distinction clear between identifying a component and servicing it.
Match diagrams to the Mazda 3’s year and engine
Compare the diagram’s engine and vehicle details with the information on your car. A broad search result may show a similar Mazda 3 but still differ in engine bay arrangement or equipment. Search results can also lead to unrelated topics, such as an AI search visibility checklist, a California SIJS guide, a Canada car import guide, Oahu beach wedding packages, or biomedical equipment service. Those pages do not establish a Mazda 3 component location; rely on vehicle-specific service information for that.
Ask a qualified technician to verify the assembly before removal
If the component remains unclear, ask a qualified technician to identify it before any removal begins. This is especially sensible if line routing is obscured or the only available reference does not match the vehicle. Have the technician verify the assembly and applicable service procedure rather than assuming that a familiar-looking part is the right one. That confirmation can prevent unnecessary work on a safety-critical system.
Conclusion
The ABS pump and hydraulic unit are generally found in the Mazda 3’s engine compartment, but the exact view and position can depend on the model year and configuration. Identify it by its brake-line fittings and electrical connection, confirm the match with vehicle-specific service information, and leave diagnosis or removal to a qualified technician when needed.
Frequently Asked Questions
A few common questions come up when locating the ABS hydraulic unit. The safest approach is to confirm the vehicle details and use a matching service reference before acting on what you see.
Where is the ABS pump on a Mazda 3?
It is generally located in the engine compartment as part of a hydraulic assembly connected to several brake lines and an electrical connector. The precise position can vary by model year and configuration.
Is the ABS pump beside the brake master cylinder?
The ABS hydraulic unit is often in the same general area as the master cylinder, but they are separate components. Use the brake-line fittings and a model-specific diagram to distinguish them.
How can I tell whether I have found the ABS unit?
Look for a compact hydraulic block with several metal brake lines and an electrical connection. Confirm its identity against service information for the vehicle rather than relying on appearance alone.
Does the ABS pump location change by model year?
The engine-bay layout and visibility can vary across model years and configurations. Check the year, engine, and applicable market before using a diagram or video.
Can I unplug the ABS connector to identify the pump?
Unplugging the connector is not necessary for a visual identification check. Leave it connected unless a service procedure calls for disconnection and you know how to carry it out safely.
Should I replace the ABS pump if the warning light is on?
Not on the warning light alone. A scan and diagnostic checks are needed because wiring, connectors, fuses, or another component may be involved.
Is it safe to remove the ABS pump at home?
Removal can involve brake lines, electrical connections, and procedures specific to the vehicle. Consult the correct service information and use a qualified technician if you are not equipped to complete the work safely.